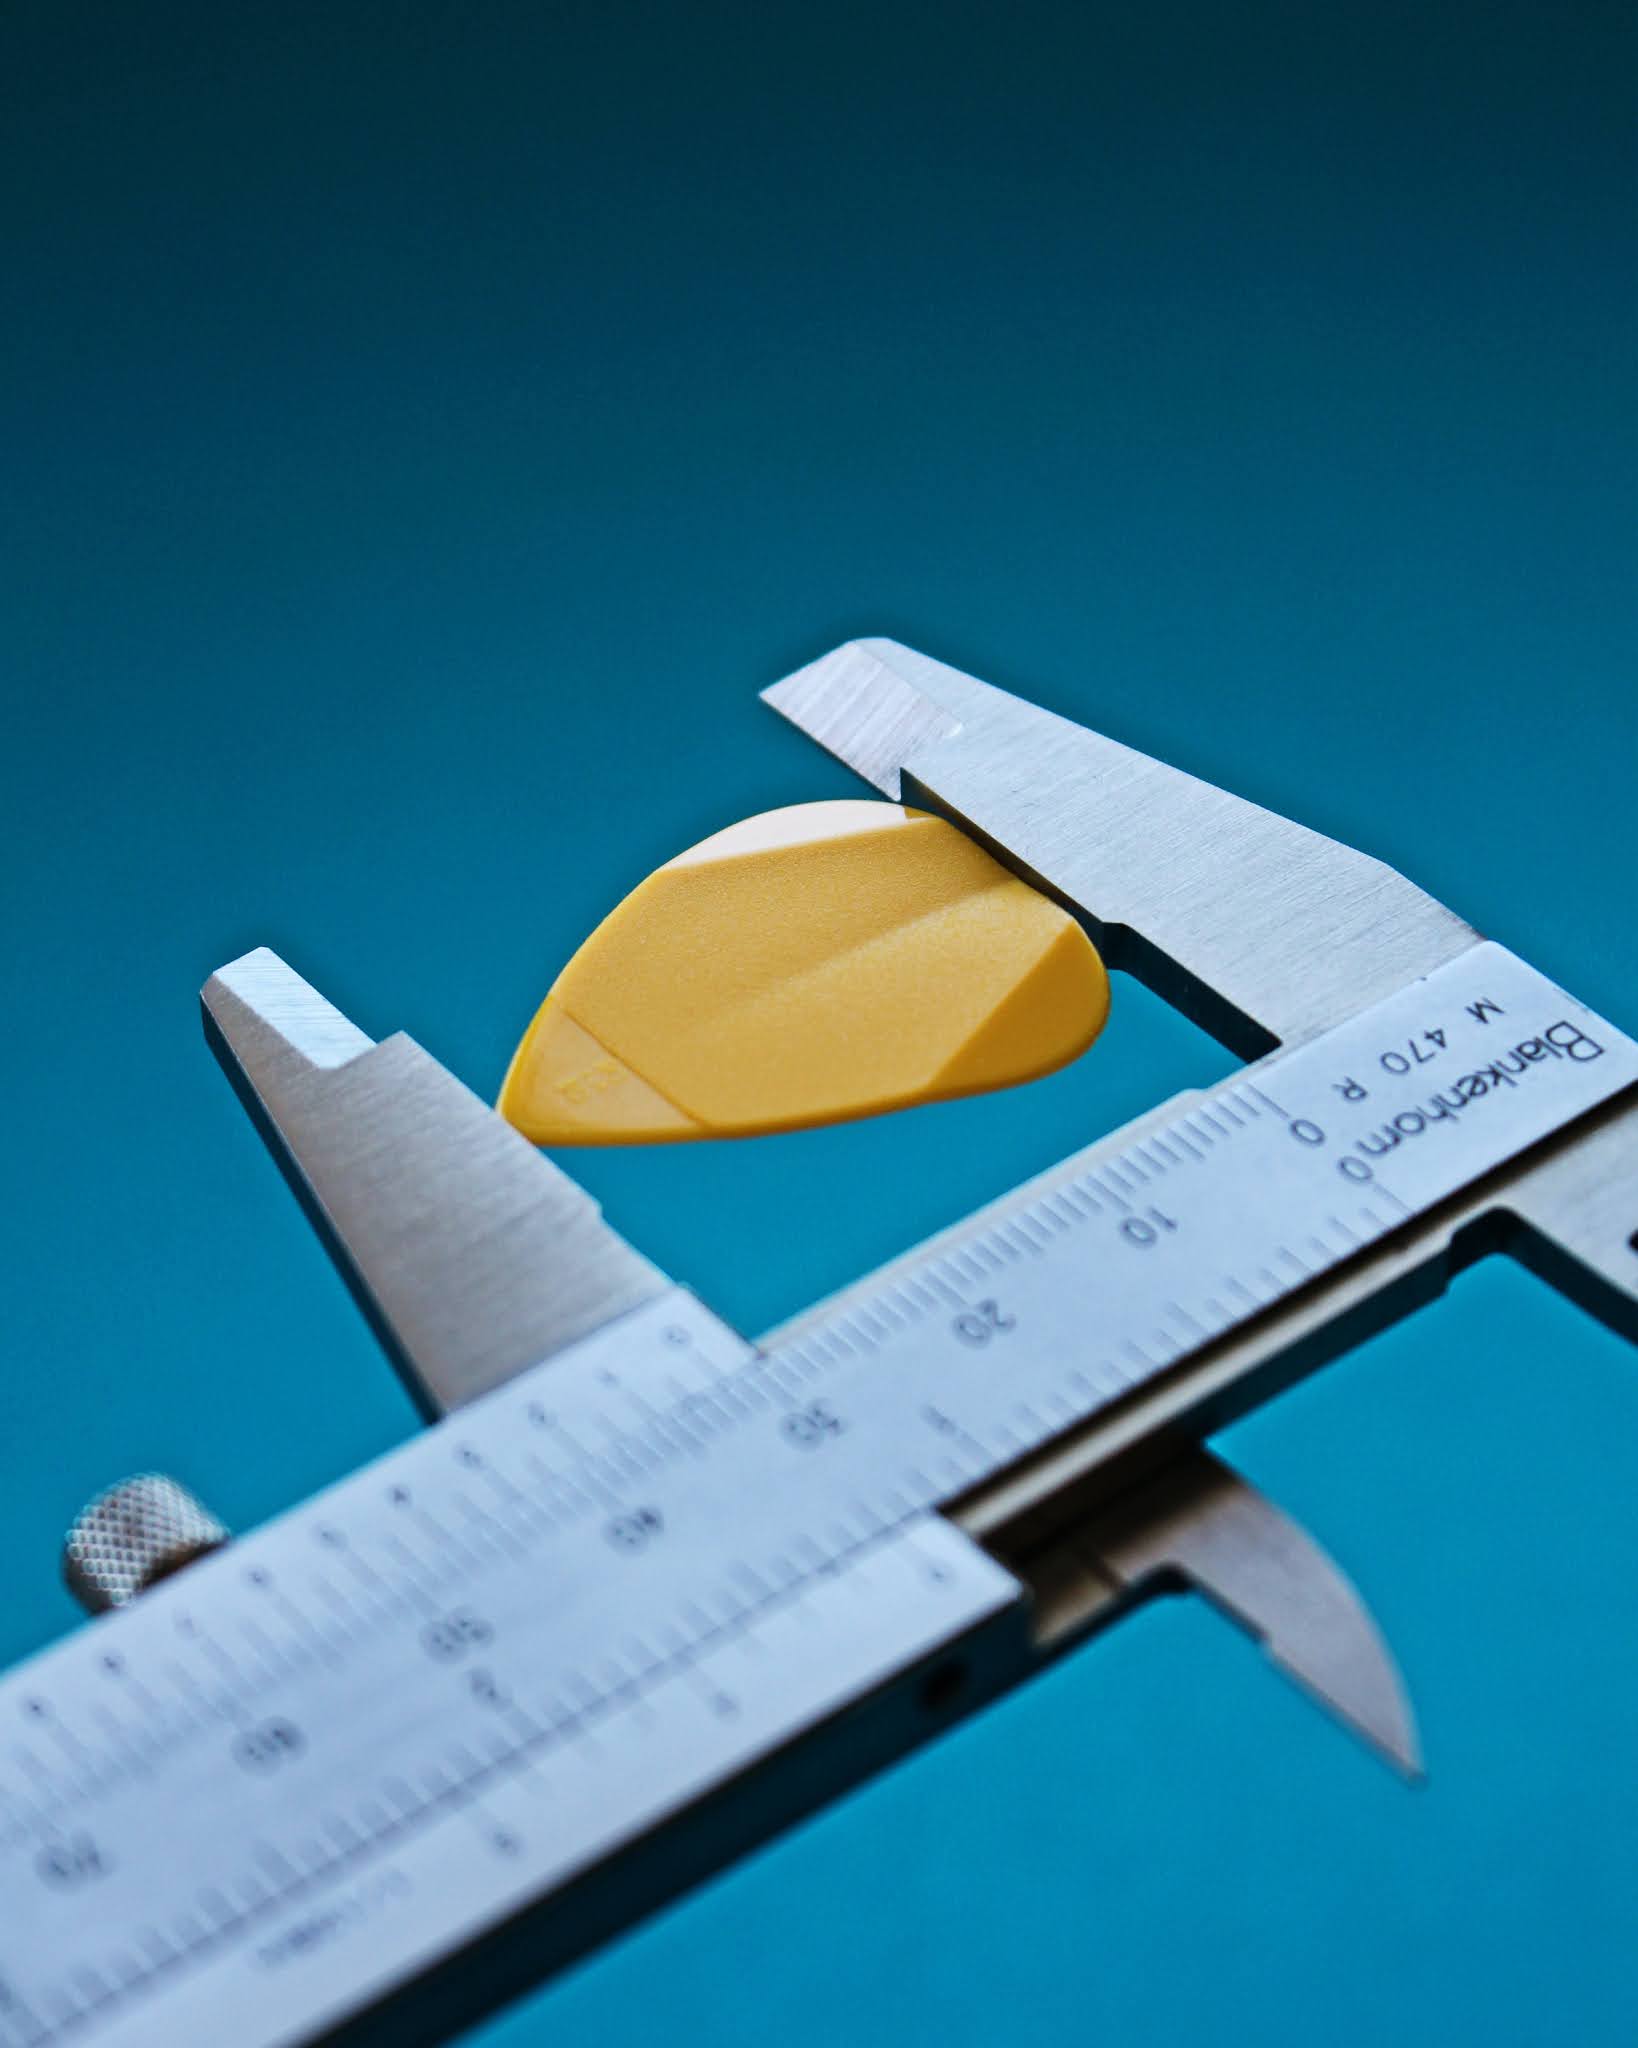
Calibration of Vernier Caliper
Operation
v Ensure that the instrument is clean and free from sticky dirt matter.
v Press ON/ZERO button, 0.00 mm display on the LCD screen of Digital Vernier Calliper.
v If there is any deviation, adjust the Vernier Calliper by slightly moving it, so that it give '0.00 mm' display on the screen, else press ON/ZERO button to release the error.
v Open the jaws using slider slowly with the help of thumb roller and insert the object between it and then close the jaws using only slider. Read the actual reading of the object directly on the LCD of Vernier Calliper.
v The least count of the apparatus is 0.01mm.
v Keep the apparatus in its box, when not in use.
Setting the origin : calibration of vernier caliper
v Upon installation of the batteries, the “….” Indicator will blink in the display. Close
the jaws and hold down the “ORIGIN” button for more than one second. The
“0.00mm” display appears, indicating origin (zero point) setting is complete.
v Comparison Measurement and Absolute Measurement
v Perform comparison measurement (INC mode) as follows.
Open the jaws to a given extent where the calliper is to be zero-set then press the
ZERO/ABS switch for less than a second. The calliper will be zero-set with “INC”
indicator on the LCD, being ready for comparison measurements.
v Perform absolute measurement (ABS mode) as follows.
• The calliper always enters the ABS mode when the power is turned on, displaying dimension from the zero point.
• Unless “INC” is displayed on the LCD, absolute measurement can be continued.
• If “INC” appears in the upper left of the LCD, hold down the ZERO/ABS switch for more than two second, “INC” will disappear and the calliper will be ready for measurement with respect to the absolute origin.
v Switching in/mm (for only inch specification)
v Each time pressing “in/mm” switch, inch display switches reciprocally.
v Error symptoms and double shooting
v “E” at the least significant digit:
Appears if the scale surface is too contaminated to count. Wipe off the scale cover
surface.
Note: Reinstall the batteries when “E” indicator stays on after the scale cover surface is wiped off. If “E” indicator still persists after reinstalling the batteries, first remove the batteries and contact the nearest Mitutoyo office.
• “B” indicator:
Appears when the battery voltage is low. Immediately replace the batteries.
•Same numbers for all 5 digits or flashing “H”:
Remove the battery once and set it again.
•Other errors:
If the errors in the figure left appear, reset the origin point.
v Specifications
Resolution : 0.01 mm/.0005”
Repeatability : 0.01 mm/.0005”
Instrumental errors : ±0.02 mm/±.001”
v Name of function of each part:
1.Outside measuring faces
2.Step measuring faces
3.Inside measuring faces
4.Clamp screw
5.LCD display
6.Scale cover
7.Depth bar
8.Main scale
9.Slider
10.Thumb roller (the type without thumb roller is available)
11.Detection/display module
12.ZERO/ABS switch (toggles between incremental and absolute measurement.
13.Power ON/OFF switch.
14.In/mm switch (for only inch specification)
15.ORIGIN switch (used for setting the origin0
16.Battery compartment lid.
Calibration
As per procedure adopted by outside NABL certified agency.
Frequency: Once in a year
v Cleaning
v To clean the instrument, use soft cloth soaked in a diluted neutral detergent.
v Mop with clean & dry cloth and store in the provided box.
v The digital scale portion should not wet with solution.
v Any organic solvent should not be used. It may deform or damage the instrument.
Precaution
v Vernier Caliper should not be used at sites where it will be exposed to oil and water.
v The Vernier Caliper should not be stored at sites where it will be exposed to dust and moisture.
v The Vernier Caliper should not be applied to any electric engraver which will damage Vernier Caliper.
